Bird's Nest Fern
ModerateAsplenium nidus
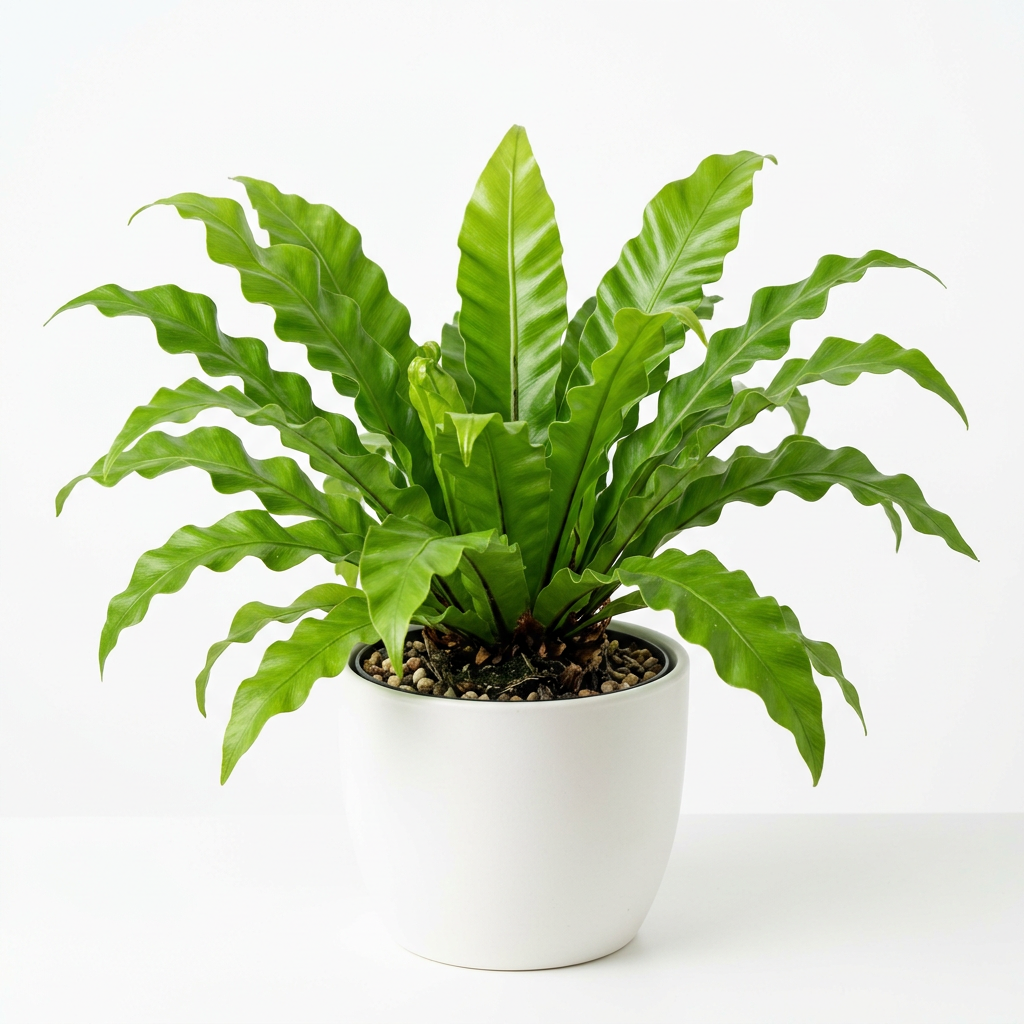
Bird's nest ferns have bold, ripple-edged fronds that unfurl from a central rosette, making them one of the most striking and manageable ferns for indoor spaces.
Light
Low to medium indirect light
Water
Every 1–2 weeks
Humidity
High (60–80%)
Temperature
65–80°F (18–27°C)
Toxicity
Non-toxic
Bird’s Nest Fern is one of the most rewarding ferns you can grow indoors — its wide, glossy fronds unfurl in slow spirals from a central rosette like nature’s own sculpture. Unlike the fussier members of the fern family, Asplenium nidus is genuinely tolerant of lower light and the occasional missed watering, making it an excellent choice for anyone who loves the lush tropical look without constant babysitting. Give it humidity, keep it away from direct sun, and it will reward you with bold, architectural foliage that feels completely at home in a bathroom or shaded corner.
Quick Care Overview
| Care Factor | Requirement |
|---|---|
| Light | Low to medium indirect light |
| Water | Every 1–2 weeks |
| Humidity | High (60–80%) |
| Temperature | 65–80°F (18–27°C) |
| Soil | Well-draining, peat-free mix rich in organic matter |
| Fertilizer | Monthly during spring and summer, diluted to half strength |
| Toxicity | Non-toxic |
Light Requirements
Bird’s Nest Ferns are naturally found growing on forest floors and in tree crevices across tropical Asia and Australia, where dappled, filtered light is the norm. Indoors, they perform best in low to medium indirect light — think a few feet back from a north- or east-facing window, or behind a sheer curtain on a brighter exposure. They are genuinely one of the best ferns for lower-light rooms and will tolerate conditions that would cause most plants to sulk.
- Low light: Growth slows and fronds stay shorter, but the plant remains healthy — a great option for dim corners or rooms with small windows
- Bright indirect light: Produces the largest, most vibrant fronds and fastest growth; keep filtered to avoid sun hitting the leaves directly
- Direct sun: Bleaches, scorches, and crisps the fronds quickly — even a couple of hours of direct afternoon sun can cause permanent damage
Watering
Water your Bird’s Nest Fern every 1–2 weeks, allowing the top inch of soil to dry slightly between waterings while keeping the overall rootball evenly moist — never bone dry and never waterlogged. The most important technique to know: always water around the edges of the pot, not directly into the central rosette. The rosette traps water beautifully in the wild where air circulation is high, but indoors that trapped moisture leads to rot and fungal issues. Use room-temperature, filtered, or rainwater when possible, as Bird’s Nest Ferns are sensitive to the fluoride and chlorine in tap water, which causes brown leaf tips over time.
Signs of overwatering: Yellowing fronds, mushy stems at the base, soil that stays wet for more than two weeks, and a sour smell from the potting mix.
Signs of underwatering: Fronds that droop or curl inward, dry and brittle leaf edges, and soil that pulls away from the sides of the pot.
Humidity and Temperature
As a tropical fern, Asplenium nidus craves humidity — aim for 60–80% relative humidity for the healthiest growth. Brown, crispy leaf tips are almost always the first sign that humidity is too low, and simply misting the plant is not enough to meaningfully raise it. A humidifier nearby, a pebble tray filled with water beneath the pot, or placement in a naturally humid bathroom are all effective solutions. Grouping it with other plants also helps raise the local humidity through transpiration.
Temperature-wise, keep it in a range of 65–80°F (18–27°C). Bird’s Nest Ferns dislike cold drafts, air conditioning vents blowing directly on them, and temperatures that drop below 55°F (13°C). Avoid windowsills that get cold in winter and keep it well away from heating vents, which dry the air aggressively.
Soil and Potting
Bird’s Nest Ferns do best in a light, well-draining mix that retains some moisture without becoming compacted or waterlogged. A good all-purpose mix combines two parts peat-free potting compost with one part perlite and one part orchid bark or coco coir — this creates the airy, organic-rich environment their roots prefer. Standard potting soil on its own tends to compact over time and hold too much moisture around the roots.
Repot every 2–3 years, or when roots begin circling the bottom of the pot or emerging from drainage holes. Bird’s Nest Ferns are not particularly fast-growing and actually prefer being slightly pot-bound, so don’t be tempted to jump up more than one pot size at a time. Spring is the ideal time to repot, just as new growth begins. Always choose a pot with drainage holes.
Propagation
Bird’s Nest Fern propagation at home is genuinely difficult and slow. Unlike many houseplants, they do not produce offsets, pups, or cuttings that can be rooted. Their natural reproductive method is via spores — tiny dust-like particles found in the brown stripe-like sori on the underside of mature fronds.
- Wait until the spores on a mature frond are fully ripe — the sori will turn dark brown and slightly powdery.
- Cut a frond and place it spore-side down on a sheet of white paper overnight to collect the released spores.
- Fill a small pot with a sterilized, fine-textured seed-raising mix and water it thoroughly.
- Sprinkle the collected spores across the surface of the mix as evenly as possible — do not cover them.
- Cover the pot with a clear plastic lid or place it inside a clear plastic bag to maintain high humidity.
- Place in a warm spot with bright indirect light and keep the mix consistently moist.
- Germination can take anywhere from 4–8 weeks, and the resulting prothalli (small, heart-shaped structures) will eventually produce tiny fern plantlets after several more months.
Most growers purchase Bird’s Nest Ferns rather than propagate them — home spore propagation is a rewarding experiment, but requires patience measured in months, not weeks.
Fertilizing
Feed your Bird’s Nest Fern once a month during spring and summer, using a balanced liquid fertilizer diluted to half the recommended strength. Full-strength fertilizer can burn the sensitive roots and cause salt build-up in the soil. Avoid getting fertilizer into the central rosette. Do not fertilize in autumn or winter when growth naturally slows — the plant is not actively growing and cannot use the nutrients, which simply accumulates as damaging salts in the soil. Every spring, flush the soil thoroughly with plain water to clear any accumulated mineral build-up before resuming feeding.
Common Problems
Brown, crispy leaf tips: Almost always caused by low humidity, tap water fluoride, or inconsistent watering. Raise humidity, switch to filtered or rainwater, and water more regularly.
Yellowing fronds: Usually a sign of overwatering or poor drainage. Check that the pot has drainage holes, let the soil dry slightly between waterings, and ensure the mix is not compacted.
Pale or bleached fronds: Too much light, particularly direct sun hitting the leaves. Move the plant to a shadier spot with filtered indirect light.
Rotting central rosette: Water has been pooling in the crown. Always water around the edges of the pot rather than directly into the centre, and ensure good air circulation.
Slow or no new growth: Normal in winter, but in growing season it usually indicates insufficient light, under-fertilizing, or a plant that is severely root-bound and needs repotting.
Scale insects or mealybugs: These can hide along the underside of fronds and in the rosette. Treat with a cotton swab dipped in rubbing alcohol for small infestations, or use an insecticidal soap spray — avoid neem oil, which can damage fern fronds.
Is Bird’s Nest Fern Toxic?
Bird’s Nest Fern is non-toxic and completely safe for cats, dogs, and humans. You can place it anywhere in your home without concern about curious pets or small children — it is one of the genuinely pet-friendly choices among tropical houseplants.
Bird’s Nest Fern is proof that tropical drama and easygoing care are not mutually exclusive — give it a humid spot, keep water out of the rosette, and enjoy watching those gorgeous new fronds spiral open one at a time.